How to Apply Self-Tanner Flawlessly: A Step-by-Step Guide
Learn how to apply self tanner flawlessly with simple prep, the right formula, thin layers, drying time, and quick fixes for streaks, dark patches, and orange palms.
Self-tanner is easy to blame when the color turns strange. But usually, it’s not the bottle’s fault. It’s that dry patch on your knee you ignored. The moisturizer you forgot on your wrists. Or those leggings you pulled on ten minutes too early.
The annoying part? Self-tan mistakes are delayed. A weird wrist line or a dark knee usually shows up hours after you’re done. It looks fine in the bathroom mirror at midnight, then less fine by 8 AM. Knowing how to apply self tanner flawlessly is really about stopping these small frictions before they have a chance to develop.
Start before the bottle is even open. Prep, formula, thin layers, drying time — none of it is actually hard. But skipping even one part is exactly what creates the streaks.
The Self-Tan Routine, Step by Step
Step 1: Prep 24 Hours Ahead
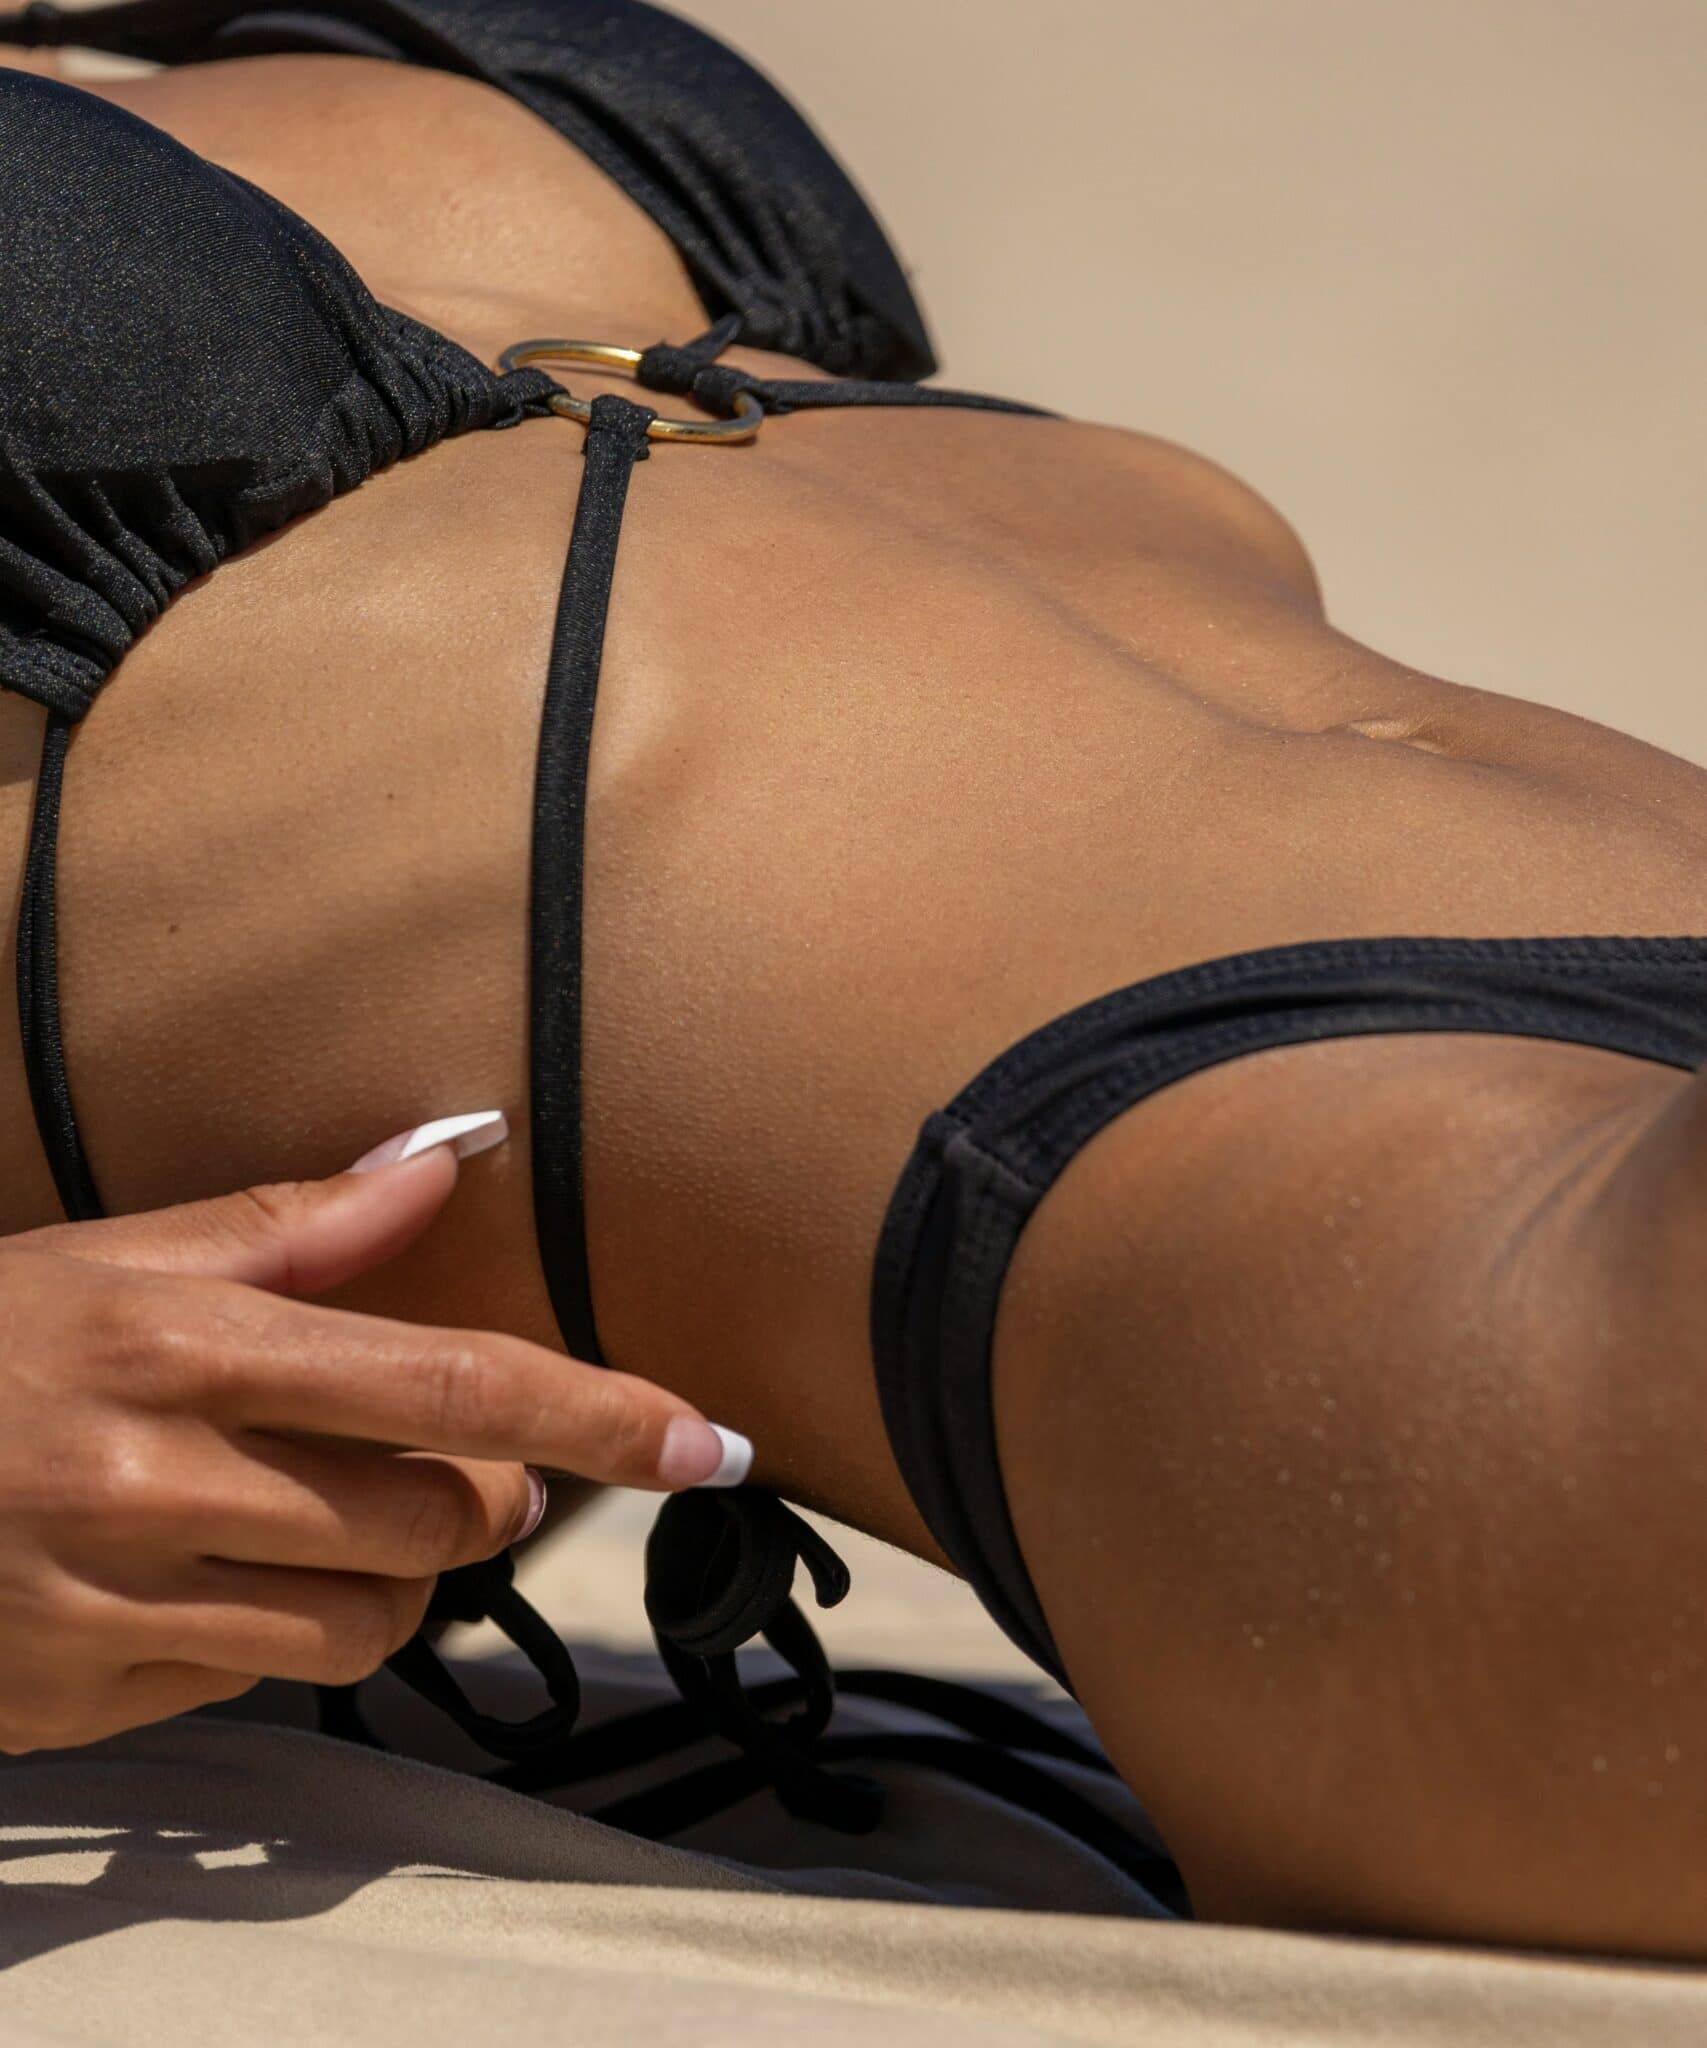
Bad tans live in old color and dry ankles. This shift toward targeted treatment is exactly whybody skin care is taking over beauty right now—we are finally treating the skin below our necks with face-grade discipline. For your essential summer skin prep guide, scrub your body a full day before you plan to tan. Focus on elbows, knees, and heels. Shave or wax in this same window, not right before application. Pores need time to close; otherwise, the product just settles into them, leaving you with tiny, obvious dark dots.
Step 2: Buffer the Dry Zones
Don’t cover your whole body in lotion right before you start. That’s a mistake. You only want to buffer the “thirsty” spots that grab pigment too fast: wrists, knuckles, elbows, knees, and ankles. A light, oil-free moisturizer is all you need to create a barrier. The rest of your skin should be bare and dry. If it’s too slippery, the tan won’t develop — it will just slide around the surface.
Step 3: Pick a Formula You Can Actually See
The easiest tanner is the one you can track. For the body, mousse is the best starting point. A classic option likeSt. Tropez Self Tan Classic Bronzing Mousse spreads fast and usually has a “guide color,” so you know exactly where you’ve already been. Drops are better for the face; something likeIsle of Paradise Self Tanning Face & Body Drops can be mixed directly into your regular moisturizer. If you’re new to this, stay away from “Dark” or “Ultra Dark” bottles. They leave zero room for error.
Step 4: Start Low, Then Move Up
A good self tan application routine is about long, sweeping strokes. Start at the ankles and work upward. Legs, thighs, stomach, arms, then neck. If you start at the chest and keep bending down to reach your feet, the product will crease around your waist before it even has time to dry. It’s not a glamorous process, but starting low is the only way it works.
Step 5: Use a Tool for the Details
Bare hands are how orange palms happen. Every time. Use a velvet mitt, like theBondi Sands Self-Tanning Mitt, to keep things uniform. When you get to hands, feet, and joints, stop. Don’t add a fresh pump of foam. Just use whatever is left on the mitt and sweep it over those areas lightly. For knuckles and the hairline, grab a small makeup brush. It gives more control than a mitt and prevents those hard edges where the tan suddenly stops.
Step 6: The Setting Window
Color is fragile right after you put it on. A waistband, bra strap, or tight sleeve will leave a pale mark if you rush into your clothes. Give it 20 minutes. Longer if you still feel tacky. Choose loose, dark stuff to wear. And stay dry. No workouts, no rain, and definitely no washing your hands every ten minutes while the color is trying to develop.
Step 7: The Lukewarm Rinse
The first shower is just a rinse. Use lukewarm water and skip the soap for now. No scrubs or exfoliating gloves yet. Rinse until the water runs clear, then pat the skin dry. Don’t drag the towel across your body. From here, moisture is what keeps the glow alive. Just avoid retinol body creams or AHAs; they act as chemical exfoliants and will dissolve your tan overnight.
Step 8: Damage Control
Even with a perfect plan, a patch might go darker. If you’re avoiding streaky self tan but notice a spot, don’t scrub until the skin is red. Add some body oil, let it sit, then buff gently with a soft cloth. For fresh stains on palms, micellar water on a cotton pad usually does the trick. For stubborn color, a remover likeBondi Sands Self Tan Eraser can help before you try to reapply.
Final Note: SPF Is Still Mandatory
A self-tan is a finish, not a shield. The glow might look convincing, but it provides zero protection from UV rays. A broad-spectrum SPF remains the most important part of your summer skin routine. The tan is fake; the sun damage isn’t.
Emily Hart
I'm writing about beauty and celebrity culture for Vireon Press, tracking how trends evolve across fashion, media, and public life.